![VSystems_Decked_Grey_4col-1.png]](https://kb.vsystems.com/hs-fs/hubfs/VSystems_Decked_Grey_4col-1.png?height=40&name=VSystems_Decked_Grey_4col-1.png)
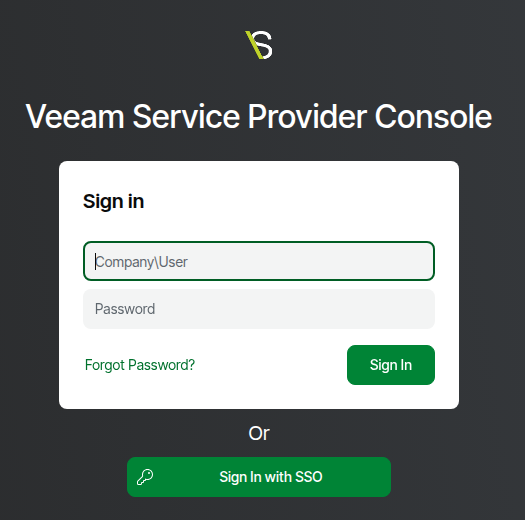
- Log into Veeam Service Provider Console.
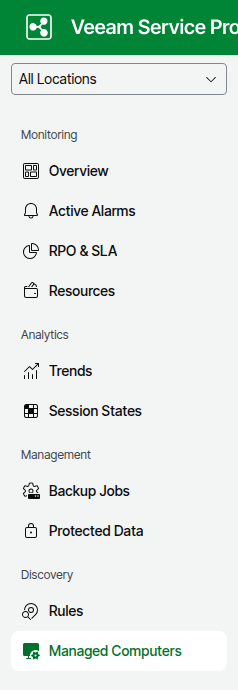
- In the left navigation, click on Managed Computers.
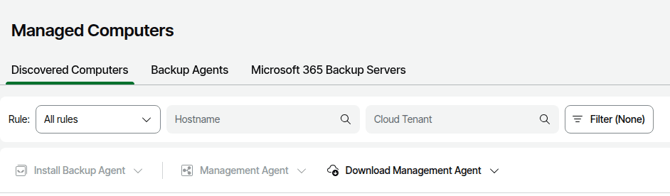
- Click on Download Management Agent.
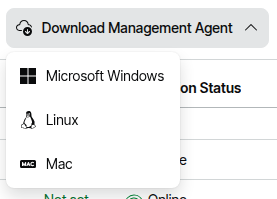
- Click on MicrosftWindows.
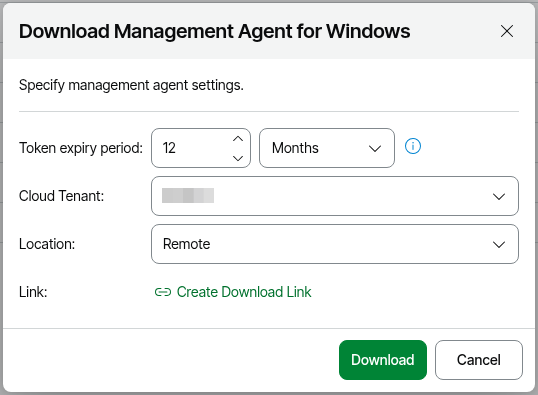
- Click on Download.
- Click on OK.
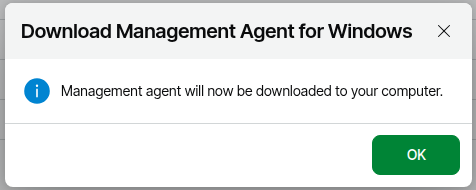
- Wait for the download to complete. This may take a few seconds for it to start downloading.
- Run the downloaded Veeam Management Agent file as Administrator.
- Wait a few minutes for the Veeam Management Agent to connect to VSPC.
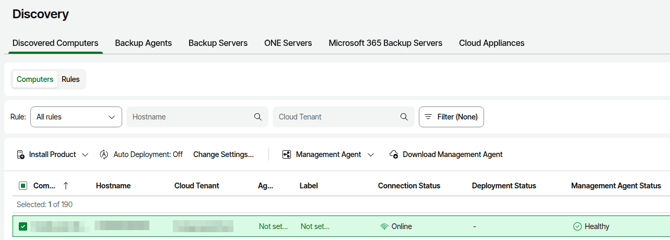
- When the Veeam Management Agent status in VSPC shows Healthy, select the Computer > click Install Product.
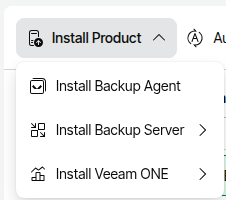
- Click on Install Backup Agent.
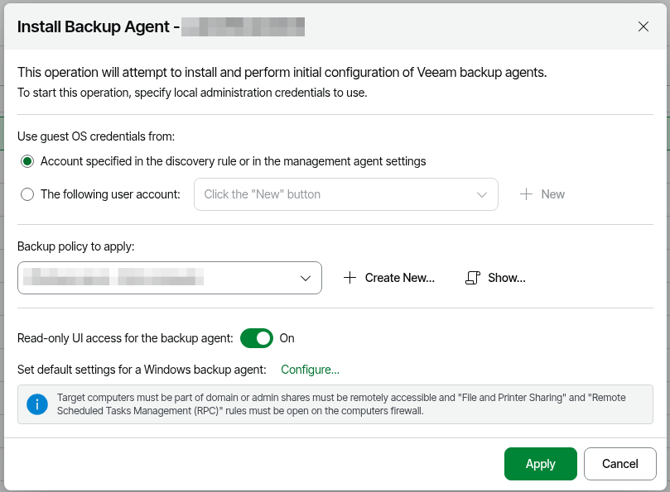
- In the Install Backup Agent window, select the following options:
-
- Account specified in the discovery rule or the management agent settings. This is fine for most scenarios. If you want to select a specific user, select the The following user account and provide a user by selecting one from the drop down list or clicking on New.
- Select a Backup policy to apply to the Veeam Linux Agent by selecting one from the drop down list. If there's not one you want to use, you can create one by clicking on Create New.
- Recommended - slide the Read-only UI access for the backup agent to On. This prevents configuratioin from being changed from the Veeam Agent.
- Optional - in the Set default settings for a Linux backup agent Configure... link.
- Click Apply.
-
- The Veeam Windows Agent will apply the backup policy.