The Veeam Failover Plan allows you to include replications in one-click failover orchestration, so you can control boot order and delays necessary for your applications in the replicas. Veeam also gives you the added benefit of accessibility, allowing you to initiate the failover plan from your Veeam Backup and Replication (VBR) console or Veeam Service Provider Console (VSPC). All edits must be made in Veeam Backup and Replication (VBR). However, it can be started from either Veeam Backup and Replication (VBR) console or Veeam Service Provider Console (VSPC).
Before You Begin
Before you create a failover plan, check the following prerequisites:
- [If you plan to select VMs from replication jobs] VMs that you plan to include in the failover plan must be successfully replicated at least once.
- [If you plan to select VMs from replication jobs] VM replicas must be in the Ready state.
- If you plan to use pre-failover and post-failover scripts for the failover plan, you must create scripts before you configure the failover plan.
1. Launch New Failover Plan Wizard
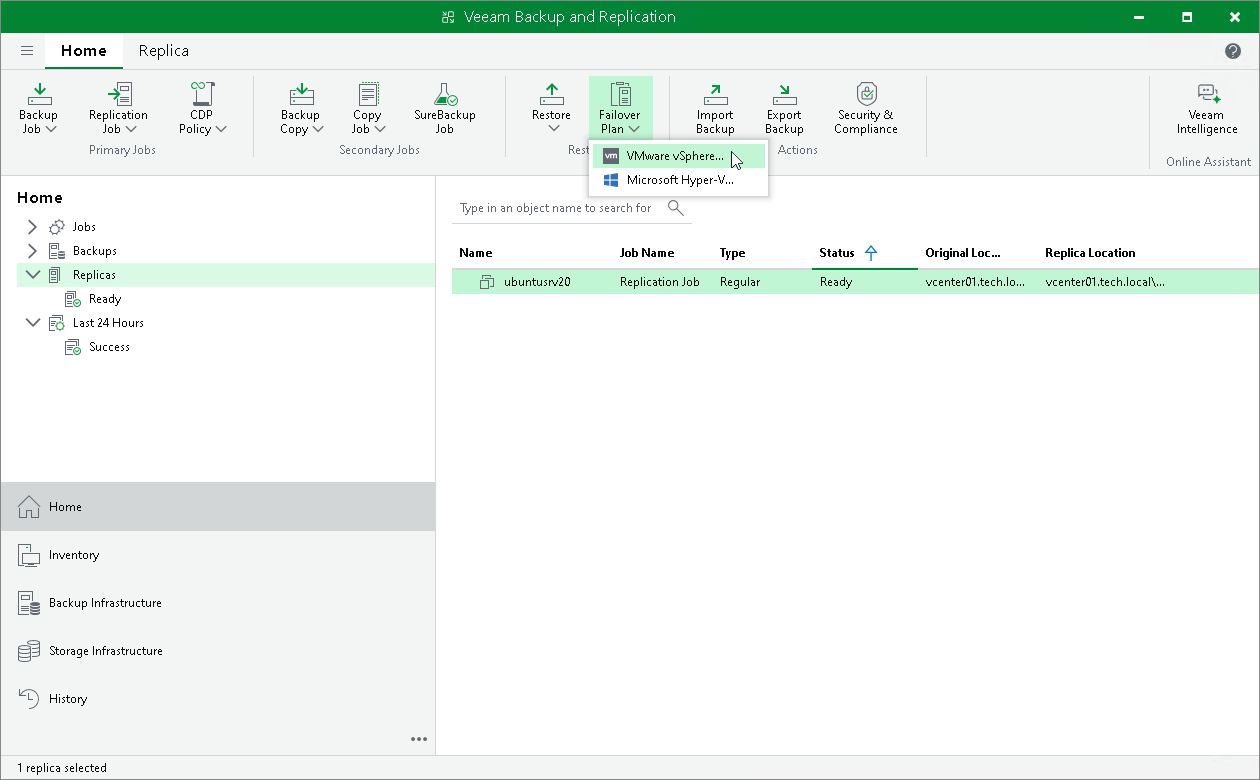
To launch the New Failover Plan wizard, do one of the following:
- Open the Home view. In the working area, select VMs that you want to add to a failover plan. On the ribbon, click Add to Failover Plan > New failover plan if you want to create a new failover plan, or Add to Failover Plan > <Plan Name> if you want to add VMs to an existing failover plan.
- Open the Home view. In the working area, select VMs that you want to add to a failover plan and right-click one of them. Select Add to failover plan > New failover plan if you want to create a new failover plan, or Add to failover plan > <Plan Name> if you want to add VMs to an existing failover plan.
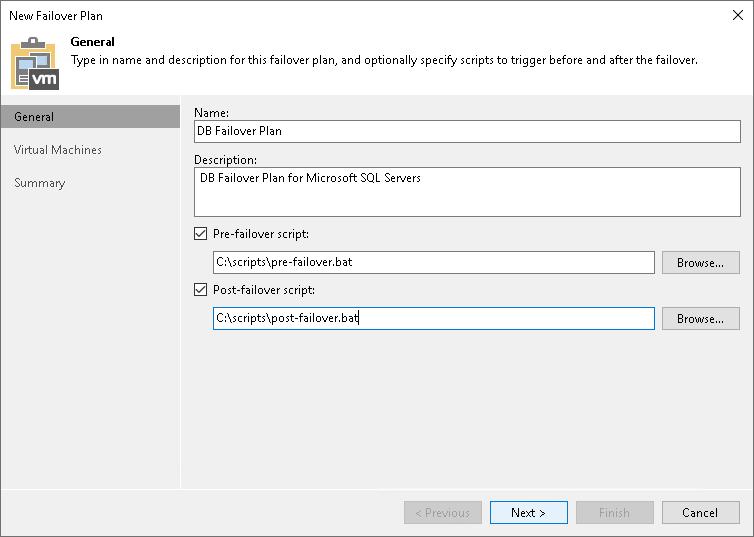
2. Specify Failover Plan Name and Description
If you want to execute custom scripts before or after the failover plan, select the Pre-failover script and Post-failover script check boxes and click Browse to choose executable files. For example, you may want stop some applications on production VMs before the failover plan starts or send an email to backup administrators after the failover plan finishes.
The scripts will be executed on the backup server. Veeam Backup & Replication supports the script files in the following formats: BAT, CMD, EXE and PS1.
3. Select VMs
At the Virtual Machines step of the wizard, select VMs that you want to add to the failover plan. You can add separate VMs and whole VM containers.
To add VMs and VM containers:
- Click Add VM.
- Select where to browse for VMs and VM containers:
- From infrastructure — browse the virtual environment and select VMs or VM containers. If you choose a VM container, Veeam Backup & Replication will expand it to a plain VM list.
- From replicas — browse existing replication jobs and select all VMs or specific VMs from replication jobs.
To quickly find the necessary VMs or VM containers, you can use the search fields.
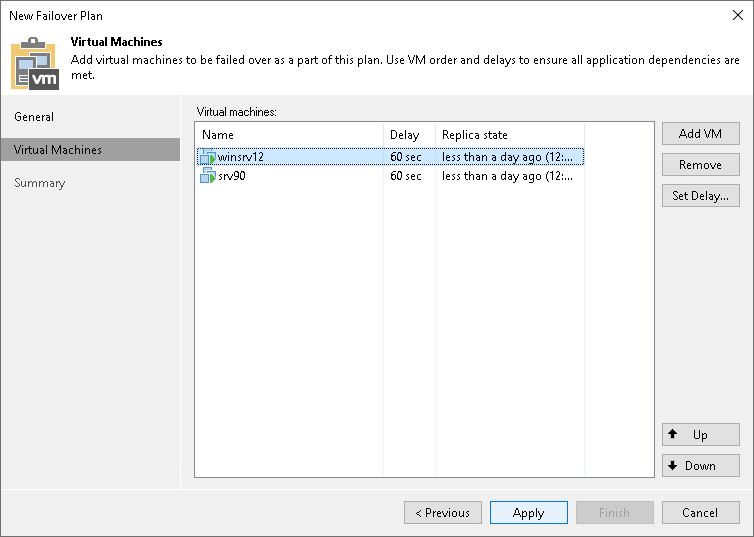
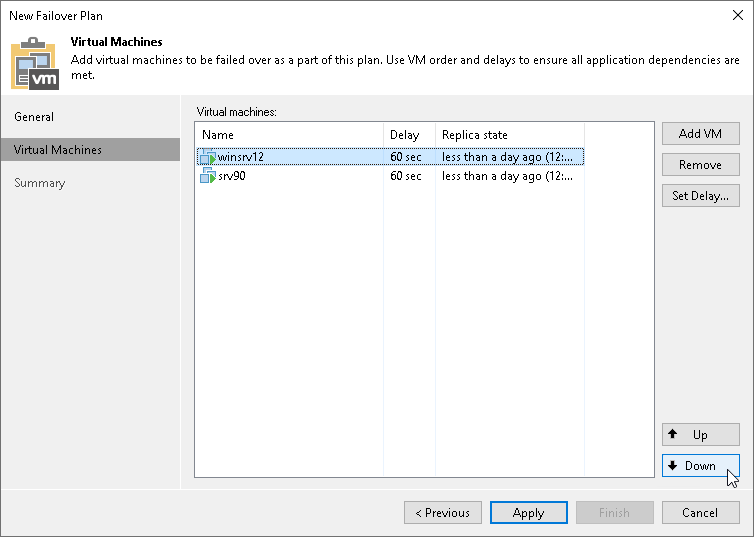
4. Define VM Failover Order
At the Virtual Machines step of the wizard, click Up and Down to change the processing order. VMs at the top of the list have a higher priority and will be started first. If some VMs provide environment for other dependent VMs, make sure that they are started first.
Step 5. Set Time Delay
After you have set the order for VMs in the failover plan, you need to set a time delay for VMs. The delay time defines for how long Veeam Backup & Replication must wait before starting the failover operation for the next VM in the list. You can use time delays to make sure that some VMs are already running at the moment dependent VMs start.
For example, you have added 2 VMs to the failover plan and set a time delay to 60 seconds for the first VM in the list. Veeam Backup & Replication will perform failover in the following manner: Veeam Backup & Replication will start the failover operation for the first VM in the list, then wait for 60 seconds and start the failover operation for the second VM in the list.
|
Note |
|
Time delays can be specified for all VMs in the list except the last one. If you do not specify time delays, VMs will be started simultaneously. |
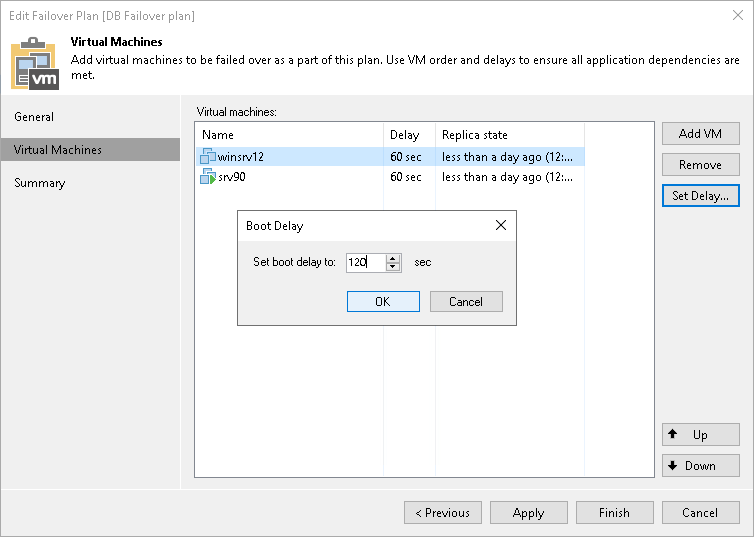
To set the time delay for a VM:
- Select it and click Set Delay on the right or double-click the VM in the list.
- Enter the time interval that you consider sufficient for this VM to boot.
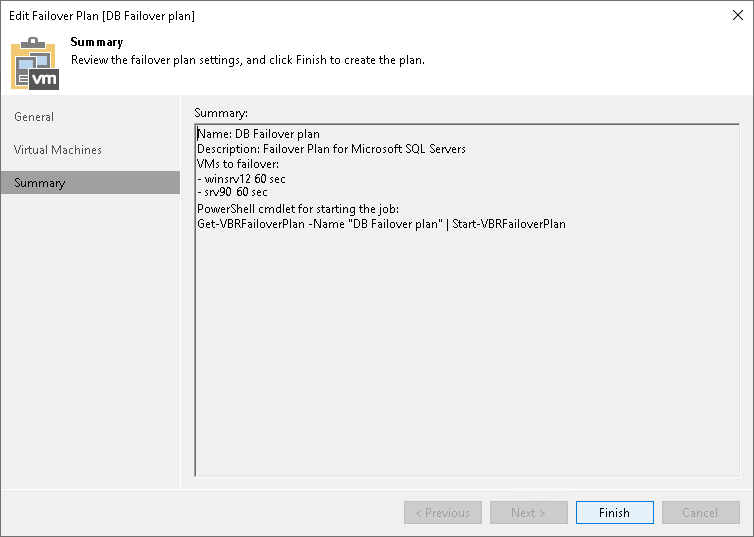
6. Finish Working with Wizard
At the Summary step of the wizard, review details for the configured failover plan and click Finish to create the plan.