Setup Hosted Backup for Salesforce
This article explains how to complete the initial configuration for the Virtual Systems hosted Veeam Backup for Salesforce by connecting the appliance to Salesforce and creating the backup policy.
- Click on the access token link provided in the "Your Hosted Salesforce Backup Trial is Ready!" email. The URL provided in the email has the access token so you will need to use it to get started.
- On the Veeam End User License Agreement step, review the agreements and if you agree, click Accept.

- On the Create local administrator step, enter a strong password in the Password and Repeat password fields.

- Once a strong password is entered, click Next.

- On the Connect to PostgreSQL step, slide the Customize slider to the On position.

- Now, fill in the PostgreSQL address, Port, Username, Password, Configuration database, and Salesforce data fields with the information provided in the "Your Hosted Salesforce Backup Trial is Ready!" email.
*Ensure the "Skip backup policy creation checkbox" is Unchecked.
- Once all the fields are entered with the information, click Next.
*Leave Proxy server connection Not configured...
- On the Provide license file step, ensure Community Edition is selected and click Next.

- On the Create connect app step, click Copy to Clipboard next to the Callback URL and click Next.

- Open a new browser tab and go to https://login.salesforce.com/.

- Enter your Salesforce Username and Password and click Log In.
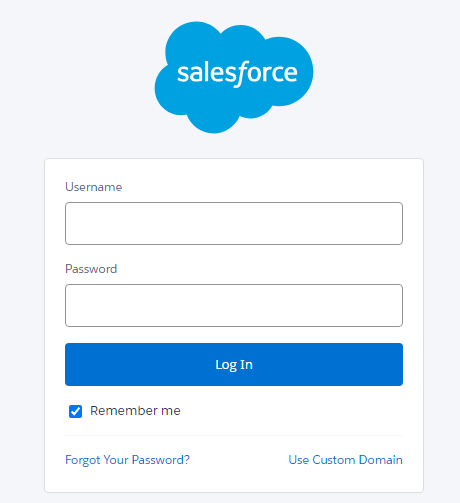
- Click on the Gear icon and then Setup in the top-right corner.

- In the left navigation under the Platform Tools category, expand Apps, and click App Manager.

- In the App Manager in the top right corner, click on New Connected App.

- Specify details of the New Connected App as specified below, then click Save:
- Enter a Connected App Name
- Enter an API Name
- Enter a Contact Email
- Check the checkbox to enable the Enable OAuth Settings option
- Enter the Callback URL that was copied from Step 9. Note that it must match exactly to the FQDN.
Review the Veeam Backup for Salesforce user guide Create Connected App page for more details on identifying what information should be entered into the Callback URL field.
Note: A trailing forward slash must not be included.*Add Callback URL to IP Restriction ListIf access to an Organization is controlled using IP restrictions, be sure to add the Callback URL to the list of allowed IP addresses for the users used to connect to Salesforce and execute backup and restore. -
Add the required OAuth Scopes:
-
- Access unique user identifiers (openid)
This scope is only needed if you use Salesforce as an identity provider. - Full access (full)
- Perform requests at any time (refresh_token, offline_access)
- Access unique user identifiers (openid)

-
- Uncheck the option Require Proof Key for Code Exchange (PKCE) Extension for Supported Authorization Flows
- Check the option Require Secret of Web Server Flow
- Check the option Require Secret for Refresh Token Flow
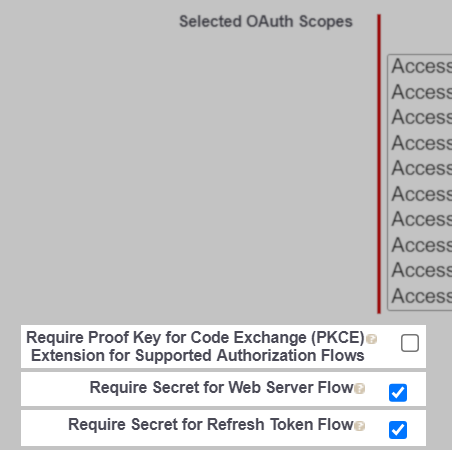
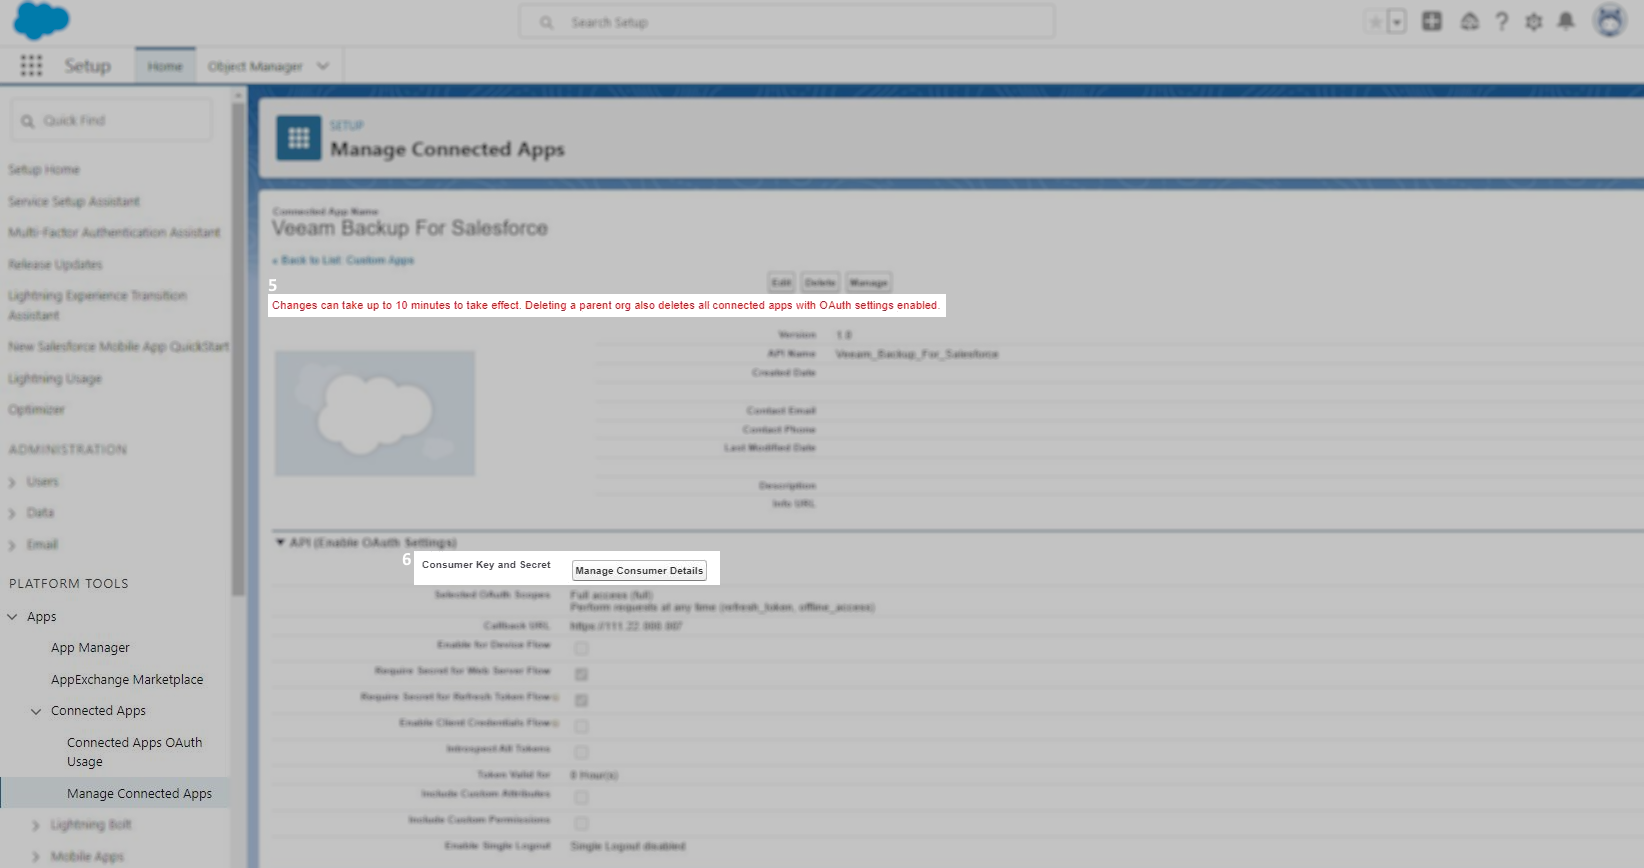
17. Take note of the message warning to allow up to 10 minutes for settings to become active and click Continue.
20. Copy and save the Consumer Key and Consumer Secret to use within Veeam Backup for Salesforce.
21. Go back to the Veeam Backup for Salesforce browser tab. On the Create connected app step, provide the Consumer key and Consumer secret retrieved from Salesforce and click Connect. If you get an error, verify the correct Consumer Key and Consumer Secret was used and it has been at least 10 minutes since the App was created in Salesforce.
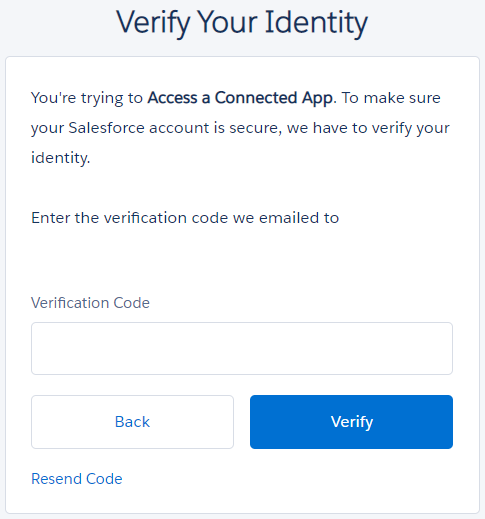
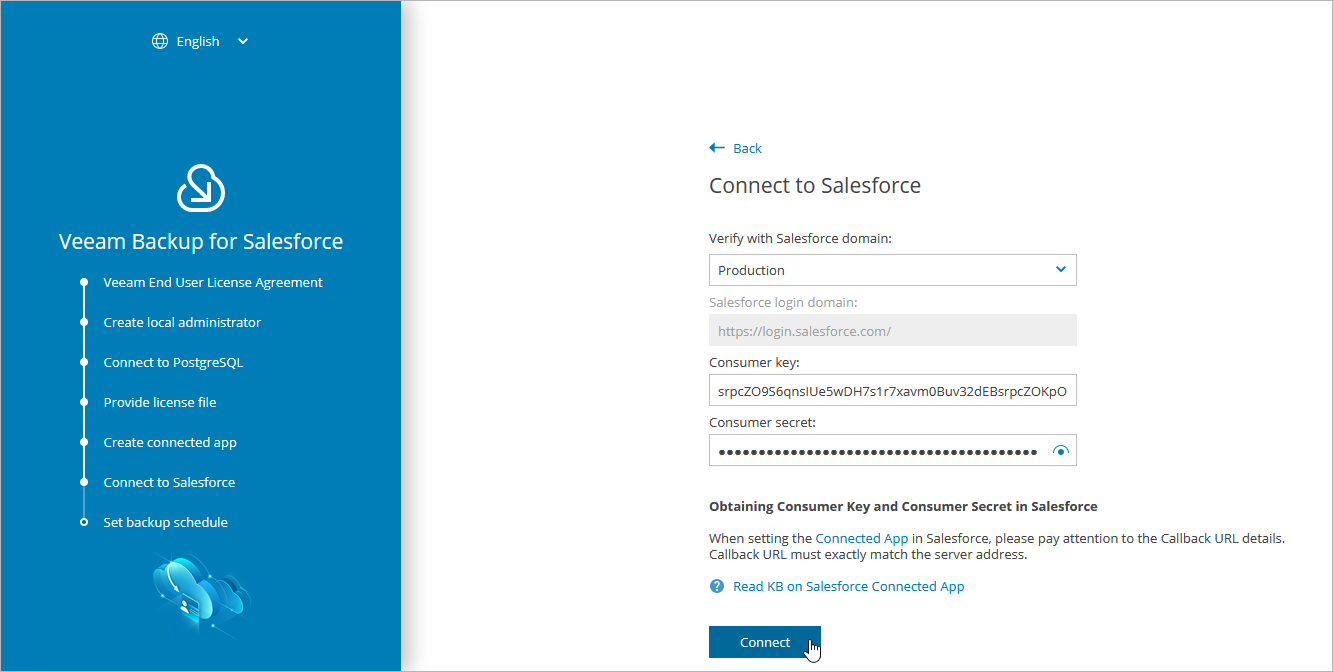 22. Veeam Backup for Salesforce will redirect to be authenticated with Salesforce. Enter your Salesforce Username and Password and click Log In.
23. Once authenticated, click Allow.
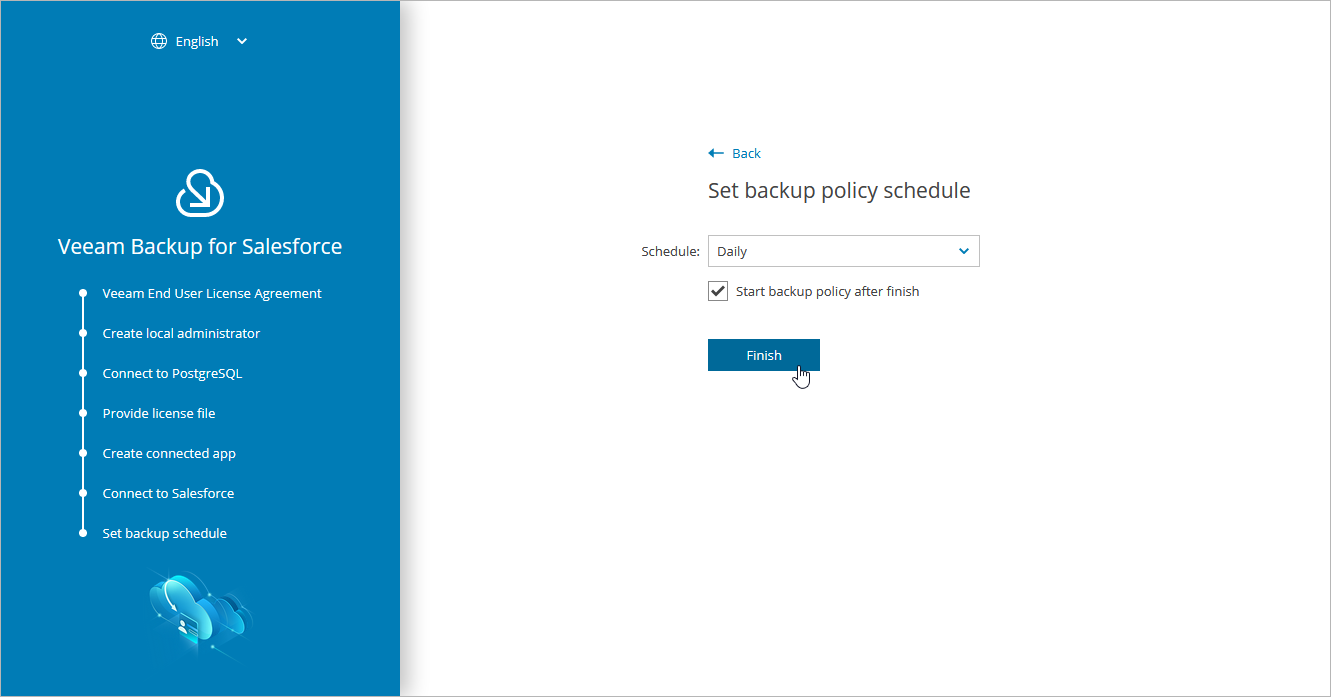
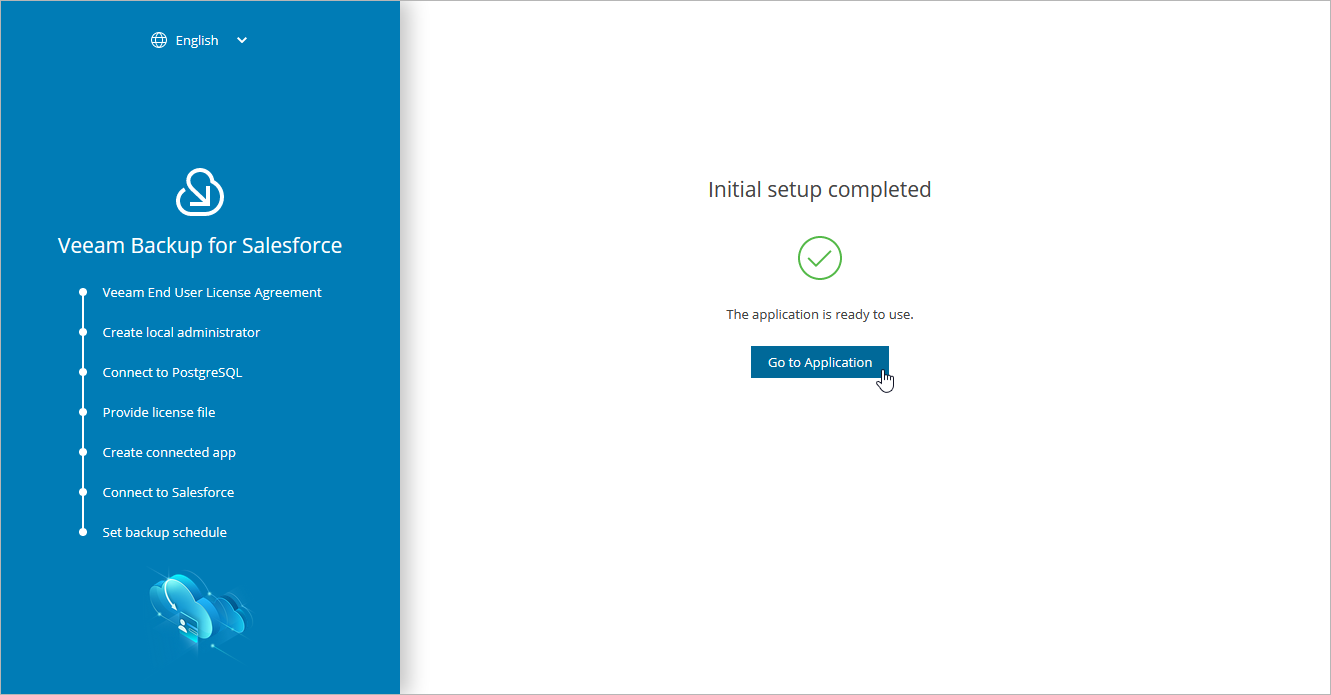
24. After receiving the Success message, click on Next.


