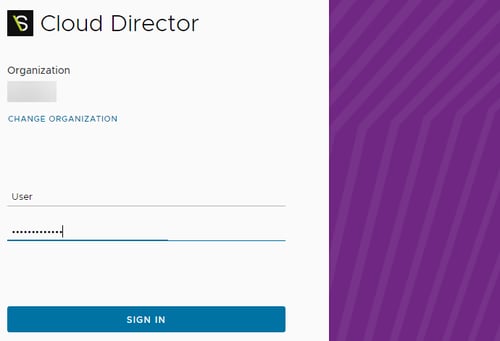
- Sign In to your Cloud Director Tenant using your existing account.
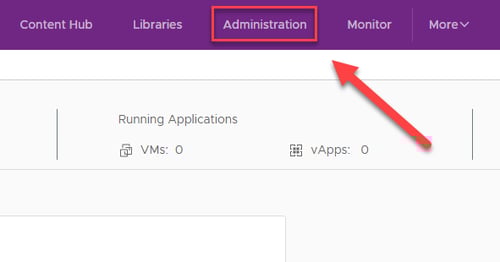
- Click on Administration.
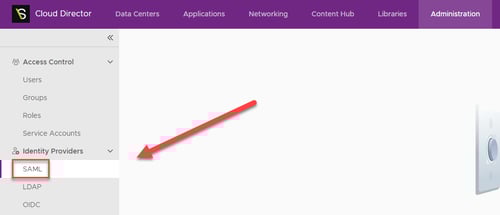
- Expand Identity Providers > click on SAML.
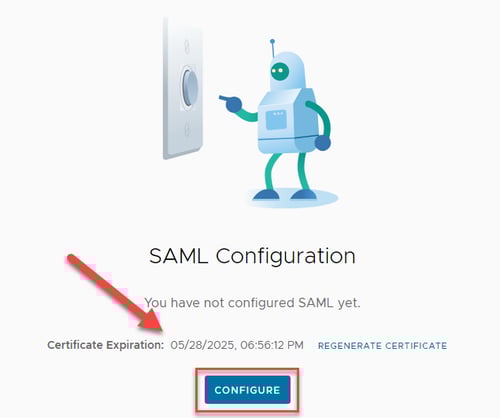
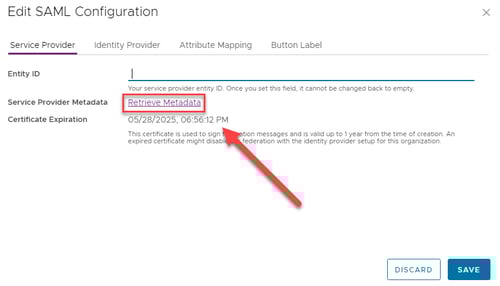
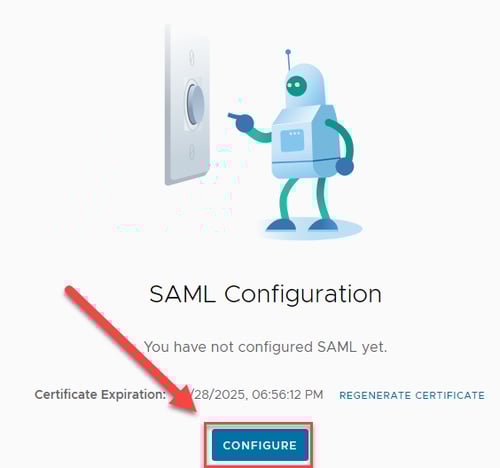
- Ensure the Certificate isn't expired (If it is expired, click Regenerate Certificate) > Click Configure.
- Click Retrieve Metadata. A XML file should download.
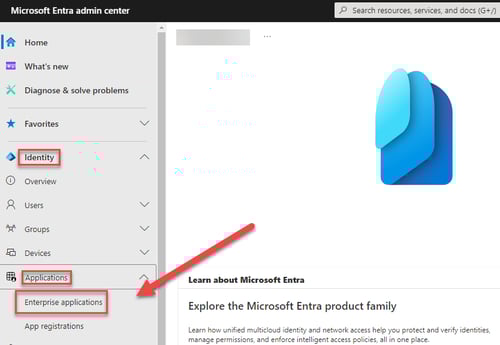
- Log into Microsoft Entra at https://entra.microsoft.com.
- Expand Identity > expand Applications > click on Enterprise applications.
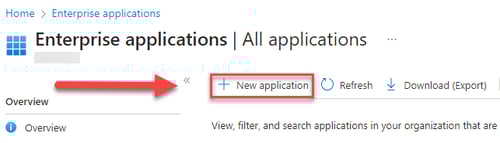
- In the top menu, click on New Application.
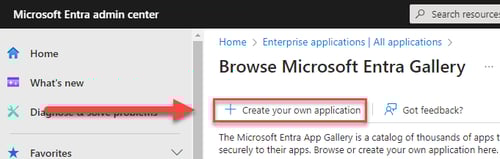
- Click on Create your own application.
- Enter a name for the application and select Integrate any other applicationyou don't find in the gallery (Non-gallery).
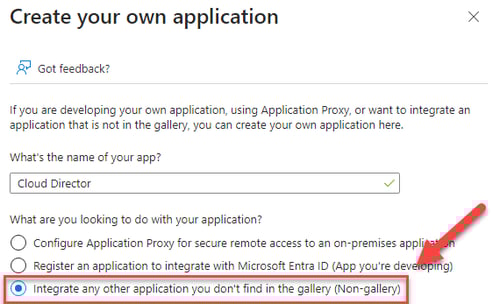
- Click on Create.

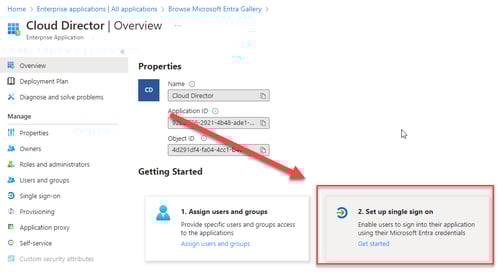
- Click on Set up single sign on.
- Click on SAML.

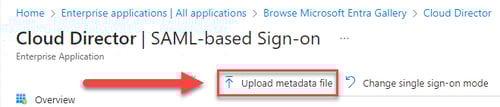
- Click on Upload metadata file.
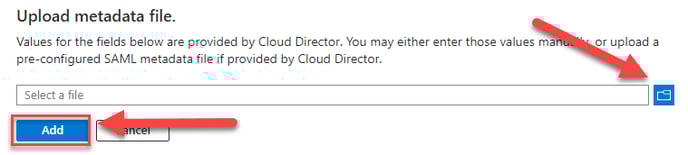
- Select the XML file downloaded from Step 5 > Click Add.
- Click on Save.

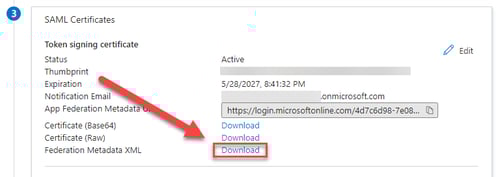
- In the SAML Certificates section, click on Download next to Federation Metadata XML. It will download a XML file.
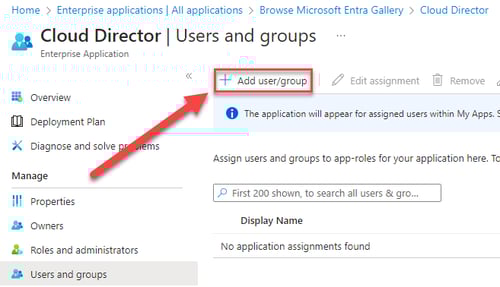
- Under Manage, click on Users and groups > click on Add user/group.
- Select the users/groups that should be able to authenticate with Cloud Director > click Assign.

- Go back to Cloud Director, click on Configure again.
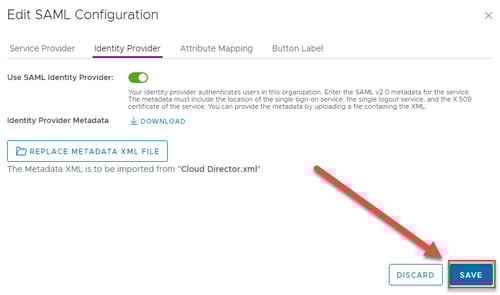
- Go to the Identity Provider tab > slide the Use SAML Identity Provider to on.

- Click on SELECT METADATA XML File.
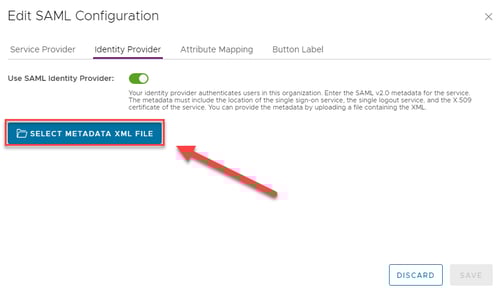
- Upload the XML file downloaded from Step 17. Click on Save.
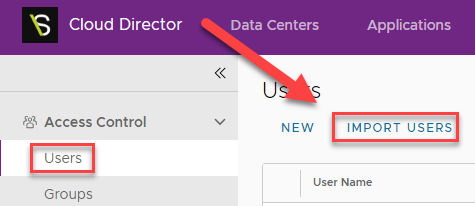
- Expand Access Control > click on Users > click on Import Users.
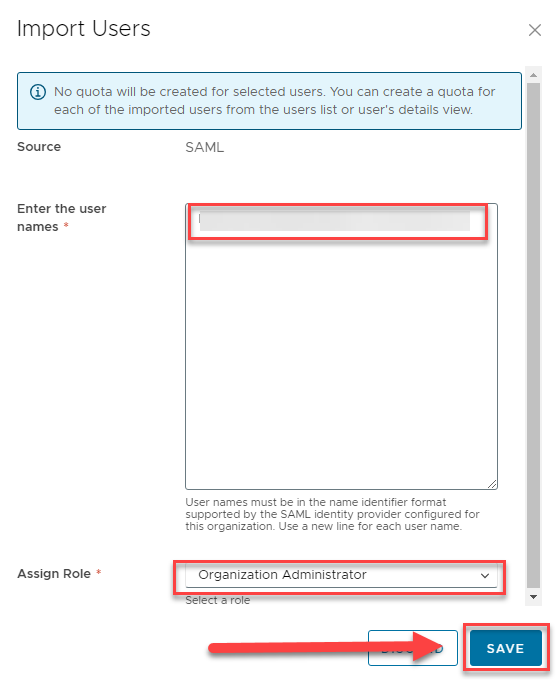
- In the Import Users window, enter the email addresses of the users who will have access (These must be allowed in the Enterprise Application in step 19) > from the Assign Role, select a role to assign to the users > click Save.
English